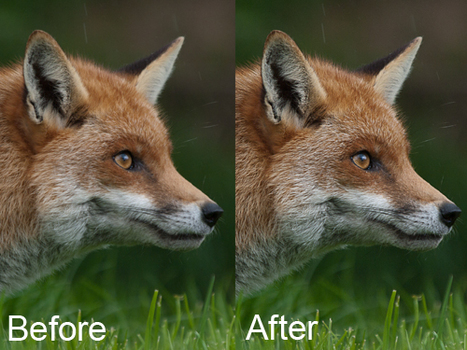
Most people who have experimented in Photoshop, especially those who shoot in raw, will have some experience of trying to sharpen an image. Sharpening increases the contrast between neighbouring pixels resulting in the visual effect of a crisper image. It is typically the last processing step that should be performed on an image and is often used to enhance already well-focussed images or in desperation to try and rescue elements of a photograph that weren’t captured in-focus when the shutter was pressed. There are numerous ways to sharpen images in Photoshop, so much so that there is a whole sub-menu of filters dedicated to sharpening, each offering a different amount of control and different levels of success. However, one of the most overlooked filters that can help you achieve better results with more control isn’t found in the Sharpen sub-menu, but is in fact found in the, usefully named, Filter -> Other menu: the high pass filter. I’ll take you through a step-by-step guide to using high pass filter and hopefully show you how simple and effective image sharpening can be.....
The benefit of using this method to sharpen your images is that the sharpening effect is applied in a non-destructive fashion, on a duplicate layer, with a very simple to understand parameter (in the Radius value) that controls the magnitude of the sharpening, as well as giving you the ability to fine tune the final effect using the Opacity slider.
Via Thomas Menk


 Your new post is loading...


