


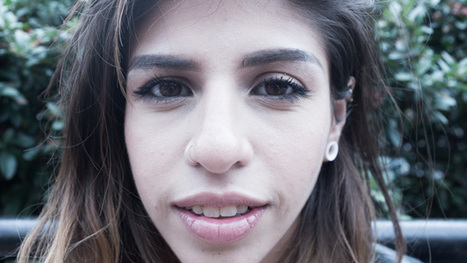
Low light photography is so much fun and isn’t as intimidating as it may first look. My first exposure to shooting in low light came about when I was shooting daily for a 365 project a few years ago. I would forget that I hadn’t taken a picture for the day and would freak out when I had nothing but darkness to shoot in. Or even worse, artificial light. Let’s say those images weren’t exactly the ones I’m most proud of. But now I realize that I just didn’t really know how to shoot in the available light that I had. A little over a year ago, I took my first class at Clickin Moms where I was first taught how to shoot in low light, using available light, and creating desirable lighting situations in low light. After the class, my eyes were opened to a whole new genre of photography that I hadn’t really given much thought to before, other than to run away from it. So, for today’s post, I’m going to answer the questions that I had when I first began shooting in low light.
Using technical terms, the image appeared “underexposed” so that the image SOOC would match what the naked eye could see. By that I mean an image of a subject in dim light with the surrounding areas cloaked in darkness too. Well, it took me a minute to realize it, and I’m pretty sure the instructor had to explain it to me more than once, but that isn’t exactly how low lighting imagery works. I’m sure people do shoot in that way and it may work well for them, but for me, it didn’t quite work that way and it took doing for it all to actually click.


 Your new post is loading...


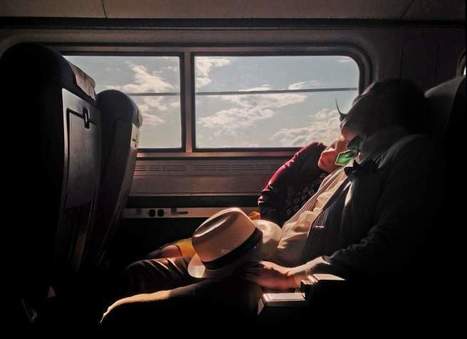


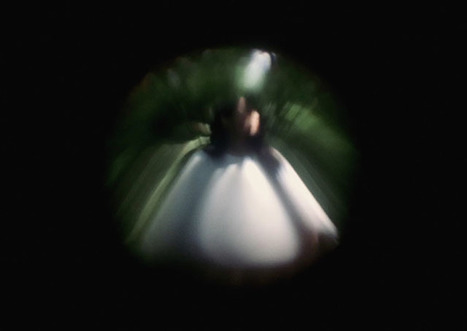


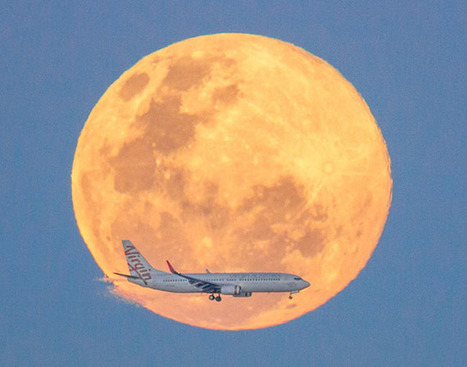


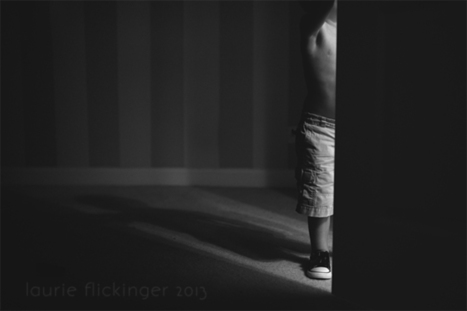
As Winter approaches, low light becomes a prominent focus for photographers. Showing how a sleep child, takes to the comfy recliner to take a nap in the low dim afternoon. To a lonely lit hallway, cascades into a reading room. These could be the captures that teaches you about exposure.